Introduction to French Bread Recipe
There’s something incredibly satisfying about baking your own bread, and when it comes to French bread, the allure is even greater. This French bread recipe is the key to creating those beautifully golden, crusty loaves that are soft and airy inside, just like the ones you find in a Parisian bakery. Whether you’re a seasoned baker or just starting out, this recipe is simple, straightforward, and sure to become a staple in your kitchen.
French bread, known for its crisp crust and tender crumb, is a versatile loaf that can be enjoyed in a variety of ways. It’s perfect for sandwiches, as an accompaniment to soups and stews, or simply served warm with a pat of butter. Plus, making your own French bread at home is not only more economical, but it also fills your house with the irresistible aroma of freshly baked bread, making the entire experience truly rewarding.
In this guide, we’ll walk you through every step of the process, from selecting the right ingredients to mastering the art of kneading and shaping the dough. With a few basic ingredients and some patience, you’ll soon be pulling your very own crusty, golden loaves from the oven. Let’s dive into this foolproof French bread recipe and discover how easy it is to create bakery-quality bread right in your own kitchen.
Benefits and Advantages of Baking French Bread at Home
Baking French bread at home offers numerous benefits that go beyond just the satisfaction of making something from scratch. Here are some compelling reasons to try this French bread recipe:
1. Superior Freshness and Flavor
When you bake your own French bread, you get to enjoy it at the peak of freshness. The flavor of homemade bread is unmatched by store-bought versions, which often contain preservatives that can affect taste and texture. The moment you slice into a loaf fresh out of the oven, you’ll notice the difference in both aroma and flavor.
2. Healthier Ingredients
By making your own bread, you have full control over the ingredients. You can choose high-quality flour, avoid unnecessary additives, and even experiment with organic or whole grain flours for a healthier loaf. This is particularly beneficial for those with dietary restrictions or those who prefer to avoid certain ingredients like added sugars or preservatives.
3. Cost-Effective
Homemade French bread is also more cost-effective than purchasing artisan loaves from a bakery. With just a few basic ingredients that are likely already in your pantry, you can create multiple loaves for a fraction of the cost. Plus, the ingredients used in this recipe are inexpensive and have a long shelf life, making it easy to keep them on hand for when the baking mood strikes.
4. Customizable to Your Preferences
One of the greatest advantages of baking your own French bread is the ability to customize it to your liking. Whether you prefer a crustier exterior, a chewier interior, or even a flavored loaf with herbs or seeds, you can easily adapt this recipe to suit your taste. You can also make adjustments to cater to dietary needs, such as using gluten-free flour or reducing the salt content.
5. A Rewarding Experience
There’s something deeply satisfying about watching dough rise, shaping it with your hands, and then seeing it transform into a beautiful loaf in the oven. Baking bread is an age-old tradition that connects us with the past, and it offers a sense of accomplishment that few other cooking activities can match.
6. Impress Your Friends and Family
Serving homemade French bread at a dinner party or family gathering is sure to impress. The effort and love put into making bread are evident in the final product, and it’s something that will be appreciated by anyone lucky enough to taste it. Whether it’s for a special occasion or just a cozy weekend meal, homemade French bread adds a touch of sophistication to any table.

Ingredients Overview
To make this French bread recipe, you’ll need a handful of basic ingredients that come together to create the perfect loaf. Here’s a detailed look at what you’ll need and why each ingredient is essential.
Essential Ingredients for French Bread Recipe
- All-Purpose Flour (4 cups)
All-purpose flour is the backbone of this recipe, providing the structure and chewiness that French bread is known for. It’s versatile and has the right balance of protein and starch to create a dough that is easy to work with. - Active Dry Yeast (2 ¼ teaspoons)
Yeast is the leavening agent that causes the dough to rise, creating that airy interior. Active dry yeast is the most commonly used type for bread baking and needs to be activated in warm water before being mixed into the dough. - Warm Water (1 ½ cups at 110°F/45°C)
Water is essential for hydrating the flour and activating the yeast. The temperature of the water is crucial—too hot, and it can kill the yeast; too cold, and the yeast won’t activate properly. - Salt (2 teaspoons)
Salt adds flavor to the bread and helps control the fermentation process, which is essential for achieving the right texture. It strengthens the gluten structure in the dough, contributing to the bread’s chewiness. - Sugar (1 tablespoon)
Sugar feeds the yeast, helping it to activate more quickly. It also adds a subtle sweetness that enhances the overall flavor of the bread without making it taste sweet. - Olive Oil (optional, 1 tablespoon)
While not a traditional ingredient in all French bread recipes, a small amount of olive oil can be added to the dough for extra richness and moisture, resulting in a softer crumb.
Dietary Substitutions to Customize Your French Bread Recipe
This French bread recipe is quite versatile and can be easily adapted to meet various dietary needs or preferences. Here are some common substitutions:
- Gluten-Free French Bread Substitute all-purpose flour with a high-quality gluten-free flour blend. Since gluten-free flours lack the protein needed to create the bread’s structure, you may need to add a binding agent like xanthan gum (about 1 teaspoon per cup of flour) to mimic the texture of traditional French bread.
- Vegan French Bread The base recipe is already vegan, as it contains no dairy or eggs. However, if you’re adding olive oil, ensure it’s from a vegan source. You can also brush the finished loaves with a plant-based milk alternative like almond milk before baking to achieve a golden crust.
- Low-Sodium French Bread If you’re watching your sodium intake, reduce the salt by half. While this will slightly alter the flavor, the bread will still rise and bake properly. You can enhance flavor with herbs or a salt-free seasoning blend.
- Whole Wheat French Bread For a healthier twist, substitute half of the all-purpose flour with whole wheat flour. This will result in a denser, more flavorful loaf that’s higher in fiber. You may need to add a little extra water to the dough, as whole wheat flour absorbs more moisture.
- Herb-Infused French Bread Add 1-2 tablespoons of dried herbs (like rosemary, thyme, or oregano) to the dough for a fragrant, flavored loaf. This is especially delicious if you plan to serve the bread with a Mediterranean meal or dip it in olive oil.

How to Prepare the Perfect French Bread: Step-by-Step Guide
Creating the perfect French bread at home is a process that requires patience and attention to detail. Follow these steps to ensure your bread turns out just right.
First Step: Prepare the Yeast
Start by dissolving 1 tablespoon of sugar in 1 ½ cups of warm water (110°F/45°C). Sprinkle 2 ¼ teaspoons of active dry yeast over the top and let it sit for about 5 minutes, until it becomes frothy. This indicates that the yeast is active and ready to use.
Second Step: Mix the Dough
In a large mixing bowl, combine 4 cups of all-purpose flour and 2 teaspoons of salt. Make a well in the center and pour in the yeast mixture. Using a wooden spoon or a stand mixer with a dough hook, mix until the dough starts to come together.
Third Step: Knead the Dough
Transfer the dough to a lightly floured surface and begin kneading. If the dough is sticky, sprinkle a little more flour over it as you knead. Continue kneading for 8-10 minutes until the dough is smooth, elastic, and springs back when poked with a finger. This step is crucial for developing the gluten structure that gives French bread its characteristic chewiness.
Fourth Step: First Rise
Place the kneaded dough in a lightly oiled bowl, turning it to coat all sides with oil. Cover the bowl with a clean kitchen towel or plastic wrap and let it rise in a warm, draft-free area for 1-2 hours, or until the dough has doubled in size. The first rise is essential for developing the flavor and texture of the bread.
Fifth Step: Shape the Dough
Once the dough has risen, punch it down to release any air bubbles. Divide the dough in half if you’re making two smaller loaves. On a lightly floured surface, roll each portion into a rectangle, then fold it in half lengthwise. Press the edges to seal, then gently roll the dough back and forth to form a log. Place the shaped dough on a parchment-lined baking sheet.
Sixth Step: Second Rise
Cover the shaped loaves with a kitchen towel and let them rise again for about 30-45 minutes, or until they have puffed up slightly. During this second rise, preheat your oven to 450°F (230°C) and place a shallow baking pan on the bottom rack.
Seventh Step: Score and Bake
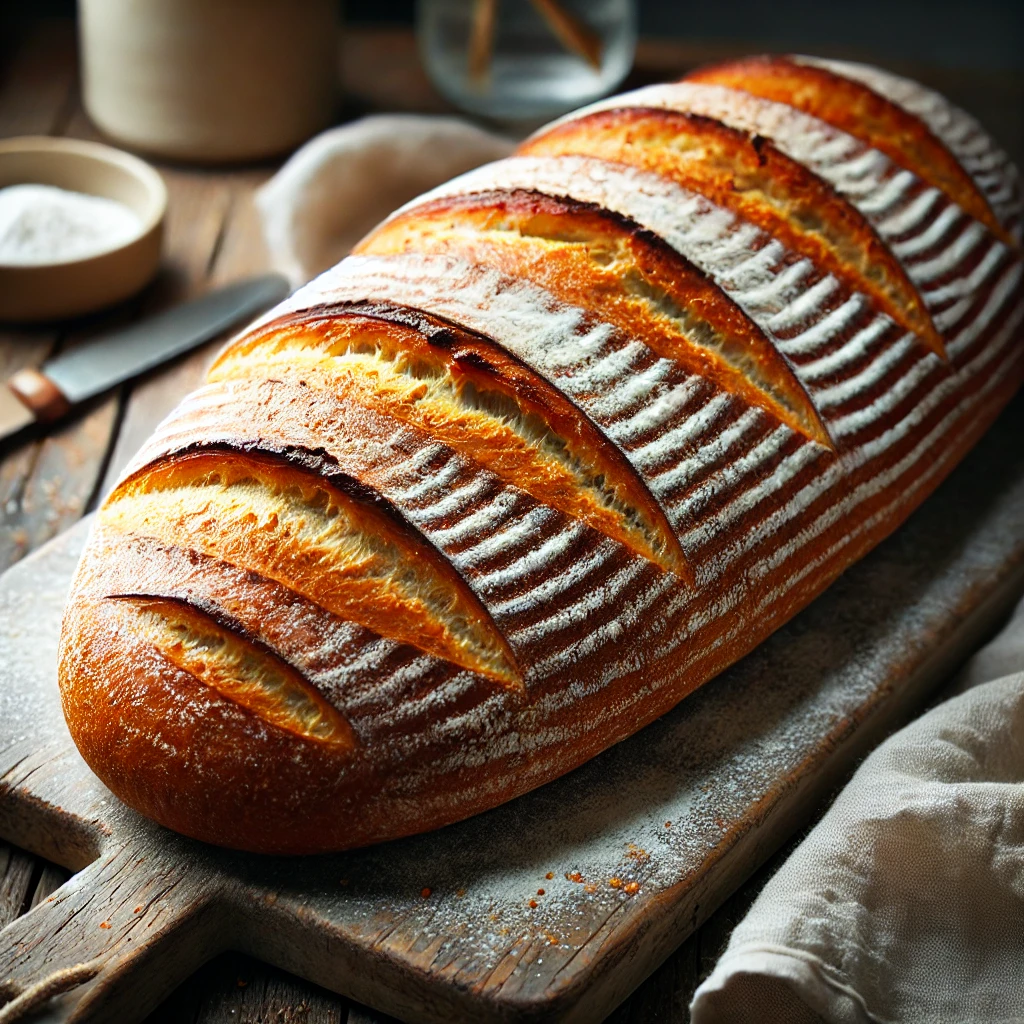
Just before baking, use a sharp knife to make three or four diagonal slashes across the top of each loaf. This helps the bread expand evenly as it bakes. For an extra-crusty loaf, pour 1 cup of hot water into the shallow pan on the bottom rack—this creates steam, which helps develop the crust.
Place the loaves in the oven and bake for 20-25 minutes, or until they are golden brown and sound hollow when tapped on the bottom. If you have a baking stone, place the loaves directly on it for an even crispier crust.
Eighth Step: Cool and Serve
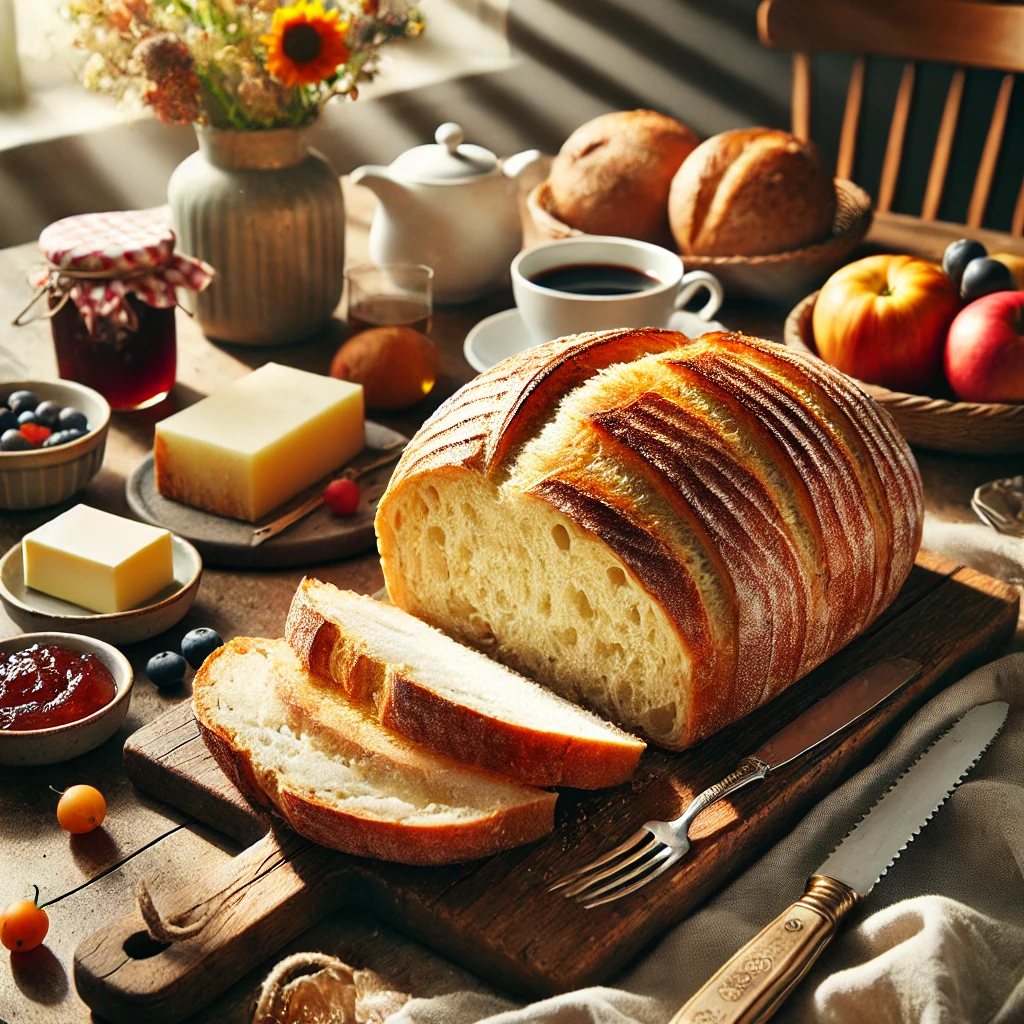
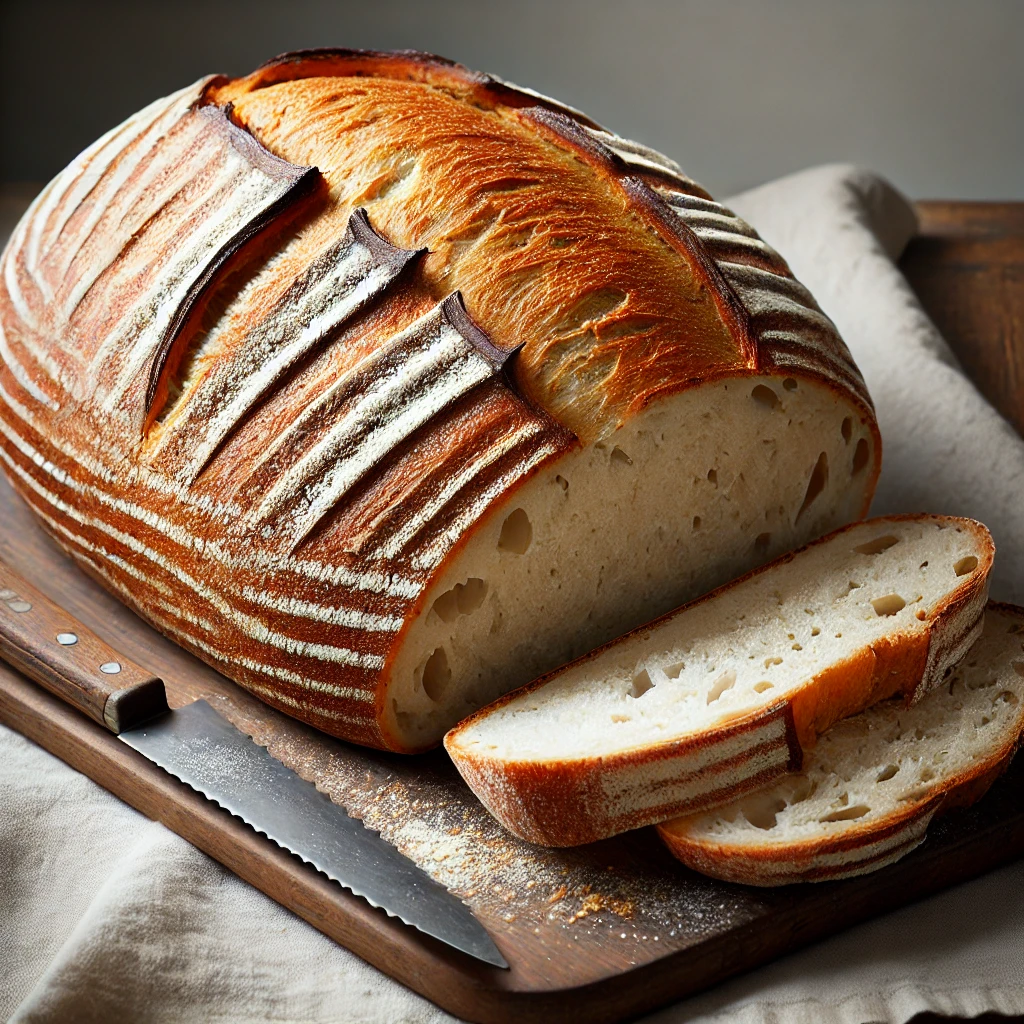
Remove the bread from the oven and let it cool on a wire rack for at least 15 minutes before slicing. This allows the interior to set and makes slicing easier. Serve warm with butter, or let it cool completely before storing.
Mastering French Bread: Advanced Tips and Variations
Even with a straightforward recipe, there are a few tips and tricks that can help you master the art of French bread baking and explore some fun variations.
1. Use a Poolish or Starter
For an even more flavorful loaf, consider making a poolish or starter the night before. A poolish is a pre-ferment made from equal parts flour and water with a small amount of yeast. Let it sit overnight, then incorporate it into your dough the next day. This adds depth of flavor and a slightly tangier taste to your French bread.
2. Experiment with Flours
While all-purpose flour works great for this recipe, experimenting with different flours can yield interesting results. Bread flour, for example, has a higher protein content and can produce a chewier loaf. Rye or spelt flour can add a unique flavor and texture. Just remember that different flours may require adjustments to the amount of water used in the dough.
3. Cold Fermentation
For an even better flavor, try cold fermentation. After the first rise, punch down the dough, cover it, and place it in the refrigerator for 12-24 hours. The slow fermentation process allows the dough to develop more complex flavors. When you’re ready to bake, let the dough come to room temperature, shape it, and proceed with the recipe.
4. Baguette Variation
To make traditional baguettes, divide the dough into three or four portions instead of two. Shape each portion into a long, thin loaf (about 12-14 inches). Follow the same scoring and baking instructions, adjusting the baking time to about 15-20 minutes.
5. Add Seeds or Grains
For added texture and flavor, roll the shaped loaves in seeds (like sesame or poppy seeds) or sprinkle them on top before baking. You can also incorporate grains like oats or cracked wheat into the dough for a heartier loaf.
How to Store French Bread: Best Practices
Proper storage of your French bread is key to maintaining its freshness and preventing it from going stale too quickly. Here are the best methods for storing your bread:
Room Temperature
French bread is best enjoyed fresh, but if you have leftovers, store the bread at room temperature in a bread box, paper bag, or wrapped in a kitchen towel. Avoid plastic bags, as they can make the crust soggy. French bread stored this way will stay fresh for about 2 days.
Freezing
To extend the shelf life of your French bread, you can freeze it. Wrap the loaf tightly in aluminum foil or plastic wrap, then place it in a freezer bag. French bread can be frozen for up to 3 months. When you’re ready to eat it, thaw the bread at room temperature, then refresh it in a 350°F (175°C) oven for 10-15 minutes to crisp up the crust.
Refrigeration
Refrigeration is not recommended for French bread as it can cause the bread to dry out and become stale faster. If you must refrigerate it, ensure it’s well-wrapped to protect it from drying out, but try to consume it within a day or two.
Nutritional Value of French Bread
French bread is a delicious and versatile food, but it’s also important to be mindful of its nutritional content. Here’s a breakdown of the nutritional value per slice (approximately 1 ounce) of homemade French bread:
- Calories: 80-100 kcal
- Carbohydrates: 16-20 grams
- Protein: 3 grams
- Fat: 0.5 grams (without added oil)
- Fiber: 0.5-1 gram
- Sodium: 150-200 milligrams
- Sugars: 0.5-1 gram
Health Benefits
French bread, when consumed in moderation, can be part of a balanced diet. It provides carbohydrates, which are essential for energy, and a small amount of protein. Using whole wheat flour can increase the fiber content, making it a healthier option. For those on a low-sodium diet, reducing the salt in the recipe can make it more suitable.
FAQs: Frequently Asked Questions About French Bread Recipe
1. Can I make this French bread recipe gluten-free?
Yes, you can make gluten-free French bread by substituting all-purpose flour with a gluten-free flour blend. Remember to add a binding agent like xanthan gum to mimic the texture of traditional French bread.
2. Why is my French bread not rising properly?
If your bread isn’t rising, the yeast may have been inactive or expired. Always check the expiration date on your yeast, and ensure your water is warm (not hot) when activating the yeast. Cold water will slow down the yeast’s activity, while hot water can kill it.
3. Can I add flavors like garlic or herbs to the dough?
Absolutely! Adding garlic, herbs, or even cheese to the dough can enhance the flavor of your French bread. Mix these ingredients in with the flour before adding the yeast mixture.
4. How can I get a crispier crust on my French bread?
For a crispier crust, bake your bread on a baking stone and create steam in the oven by placing a pan of hot water on the bottom rack. You can also brush the loaves with water or an egg wash before baking.
5. How do I know when my French bread is done baking?
Your French bread is done when it’s golden brown and sounds hollow when tapped on the bottom. You can also use a thermometer—the internal temperature should be around 200-210°F (93-99°C).
With this detailed guide, you’re well-equipped to bake delicious, authentic French bread right at home. Enjoy the process, and don’t be afraid to experiment with variations to make the recipe your own. Happy baking!

